Backyard Spa Retreat Ideas for At-Home Relaxation
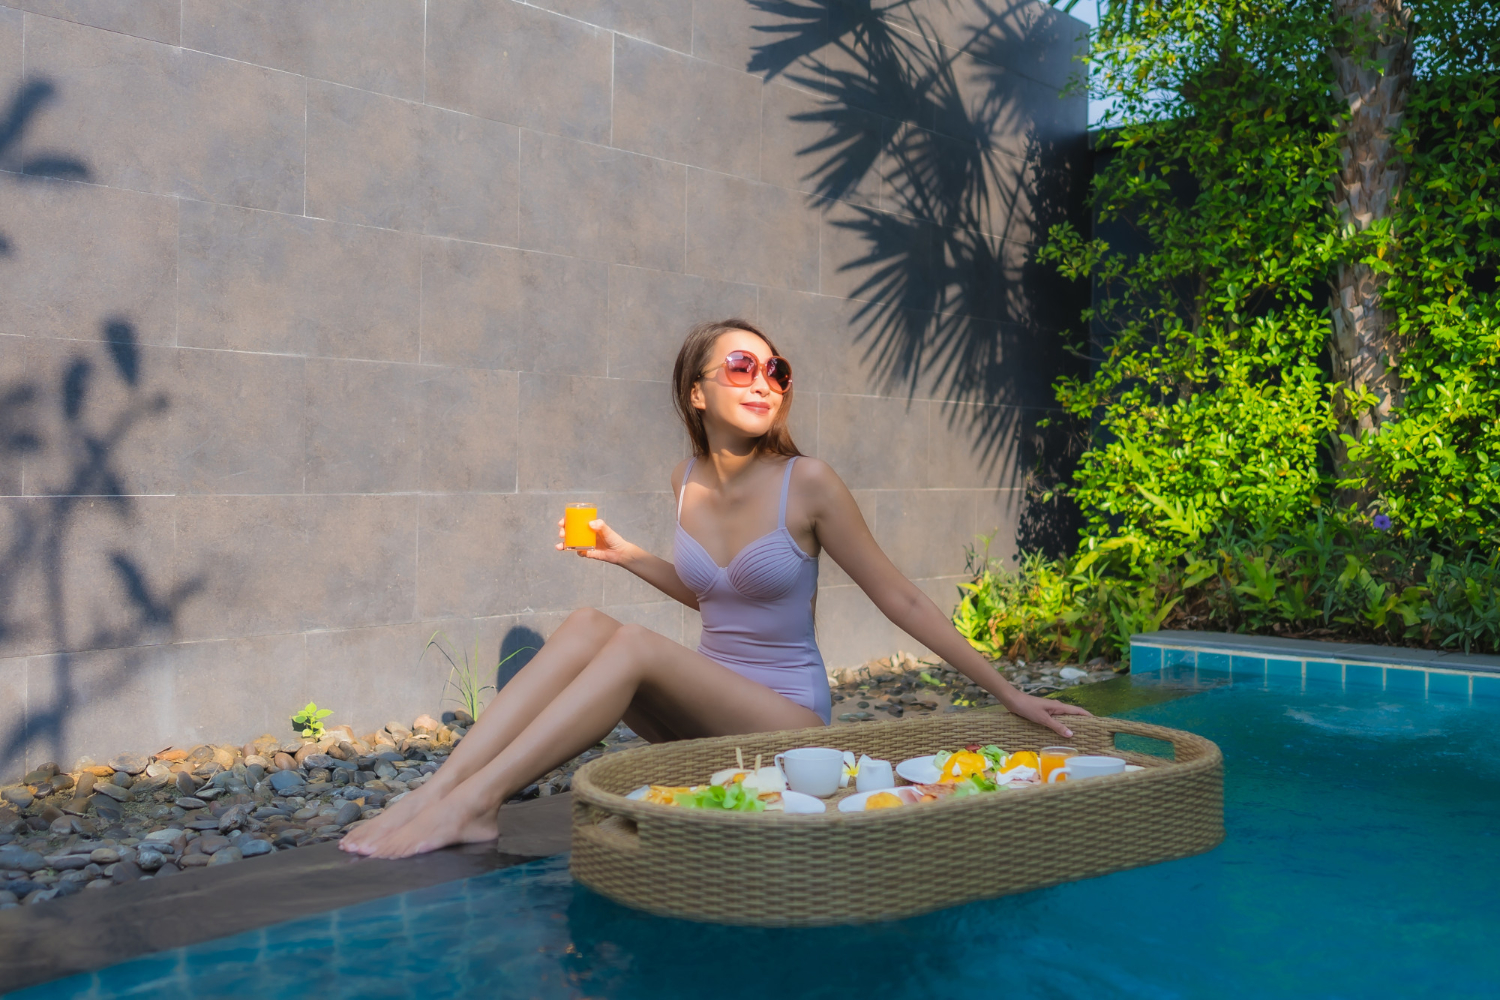
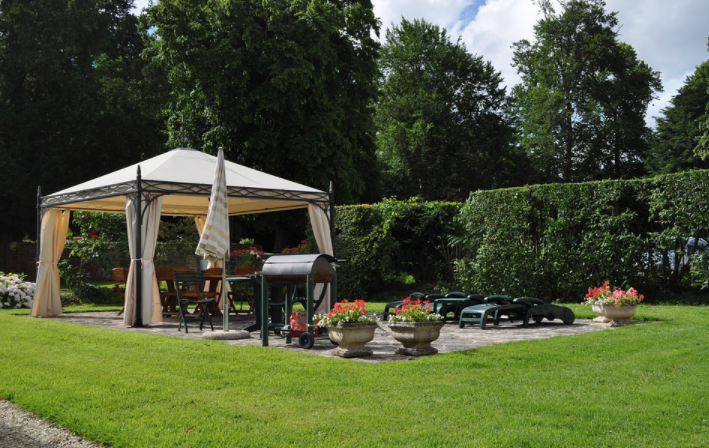
Transforming your backyard into a serene escape can completely change the way you experience your home, offering a personal sanctuary for relaxation and leisure. Thoughtful planning and design can turn even a modest outdoor space into a luxurious retreat tailored to your lifestyle. Experts emphasize that creating a relaxing backyard retreat involves combining comfort, aesthetics, and functionality, from cozy seating areas to soothing water features and ambient lighting. Paying attention to these elements ensures your backyard becomes a space where you can unwind after a busy day. This article explores creative ideas and practical tips for turning your outdoor area into the ultimate spa retreat.
Incorporate a Hot Tub or Spa Feature
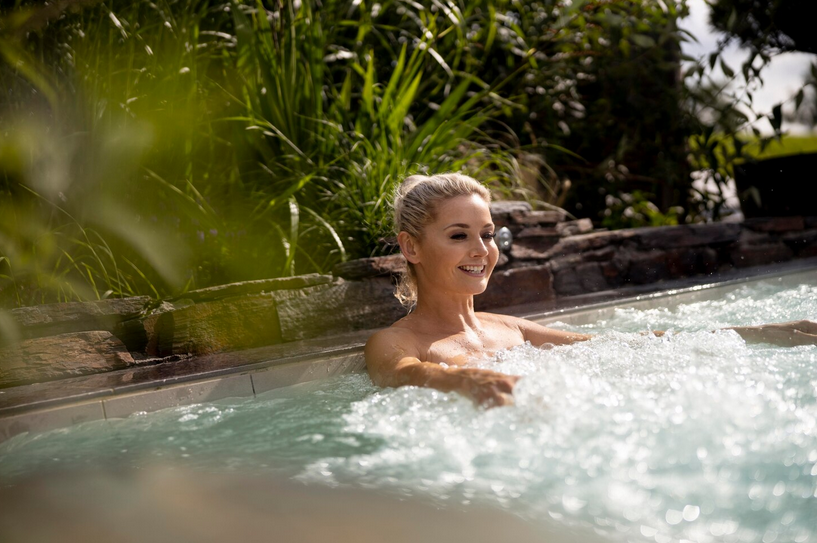 The centerpiece of any backyard spa is often a hot tub or spa. These features provide warmth, hydrotherapy, and a space to unwind after a busy day. Positioning the tub in a quiet corner or near natural elements like plants or stone paths enhances the relaxing atmosphere. Surrounding it with decking or smooth stone flooring ensures both aesthetics and safety, giving the area a polished, inviting look. Selecting a model with jets or seating options tailored to comfort increases the therapeutic benefit, allowing you to enjoy targeted massage and gentle hydrotherapy. Water elements don’t have to stop at a hot tub. Small fountains, waterfalls, or koi ponds add ambient sounds that heighten relaxation. The sound of running water encourages mindfulness and makes the backyard feel more immersive, masking external noise while creating a serene environment. Layering different water features adds dimension and contributes to a true spa-like experience in the comfort of your own home.
Focus on Comfortable Seating and Lounging Areas
Comfortable seating is essential in creating a backyard retreat. Chaise lounges, cushioned chairs, or built-in benches provide spaces to relax, read, or enjoy quiet reflection. Arranging seating in semi-private zones or around the water feature helps define the space while fostering a sense of intimacy. Adding side tables or small trays ensures refreshments and personal items are within reach, enhancing convenience and encouraging longer stays outdoors. Outdoor fabrics and weather-resistant materials maintain comfort while ensuring durability. Using neutral or calming colors for cushions and pillows creates a soothing visual environment that complements greenery and natural materials. Layered textures, such as soft blankets or woven throws, can be added for cooler evenings, keeping the retreat inviting year-round.
Integrate Natural Elements and Greenery
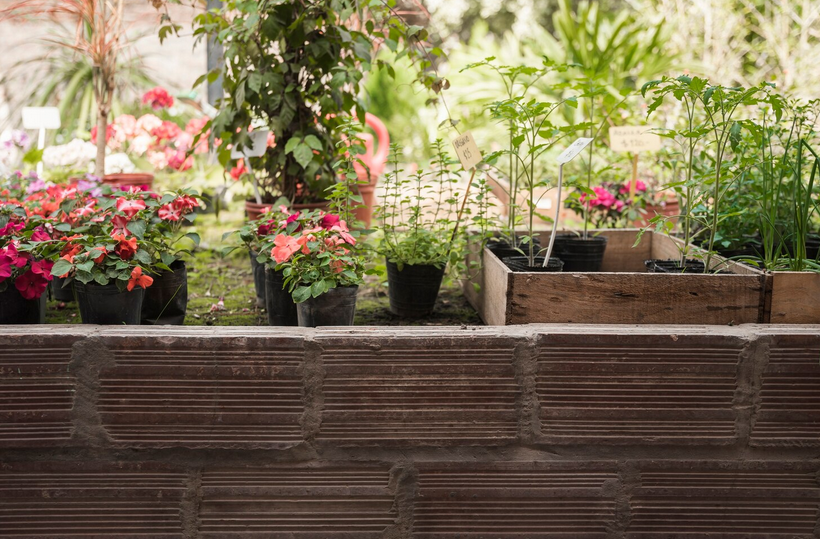
Plants and landscaping are crucial to a backyard spa. Incorporating lush greenery, flowering plants, and potted herbs enhances visual appeal while promoting a sense of calm. Vertical gardens, climbing vines, and strategically placed shrubs help define private areas and screen off noise or unsightly views. Pathways lined with smooth stones or wooden decking maintain flow while connecting various zones in the space. Natural materials such as wood, stone, and bamboo reinforce the outdoor spa theme. Using these elements in decking, fences, or furniture helps blend the retreat seamlessly with the landscape. Including fragrant plants like lavender, jasmine, or rosemary adds sensory depth, complementing visual appeal with a natural aroma that supports relaxation.
Enhance Ambience with Lighting and Accessories
Lighting transforms the backyard from functional to atmospheric. Soft string lights, lanterns, or recessed garden lighting create a warm glow that encourages relaxation after dark. Highlighting water features or plants with subtle uplighting adds depth and draws attention to focal points. Accessories such as fire pits, outdoor rugs, and decorative screens enhance comfort and style. Adding a small towel station, side tables, or a covered pergola ensures practicality and extends usability during various weather conditions. These thoughtful touches make the backyard retreat feel complete and elevate the spa-like atmosphere.
Creating a backyard spa retreat combines water features, comfortable seating, natural elements, and ambient lighting to transform an ordinary outdoor space into a sanctuary. By integrating greenery, thoughtful layouts, and relaxing accents, homeowners can enjoy wellness and comfort without leaving home. Each element works together to create a …
Simple Tips to Create an Outdoor BBQ Kitchen in Your Garden
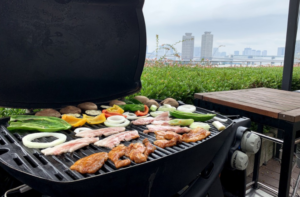
In this article, we will take a look at some garden BBQ ideas. Most BBQs bought in stores collapsed after minimal use in my friends’ backyards after only one year. However, I had finished building a deck in my backyard but decided to add another grade to create an outdoor kitchen and BBQ island. If you are interested in making one for yourself, here are the steps to follow to build your own.
Design the Size and Shape
The first thing you need to do is to design and find an estimation of the size and shape of your BBQ island to be. Also, you can decide which BBQ you want to buy. I decided on a Vermont BBQ after researching it on Amazon and evaluating the units’ quality at my regional Home Depot. Personally, it made sense to buy the complete unit rather than buy the head and side burner separately. I bought a couple of 20% off coupons on eBay and got the grill for $519. You’d have to get the building materials simultaneously, so the coupon comes out for 20 percent off the entire purchase.
Decide on the Style
 Choose which stainless steel doors you want and how many. Picture them on a Weber grill at the store. Call Weber and buy the ones you’ve decided on. Don’t worry about them. Good measuring will help you save a few cuts when you get to the 12×12 slate tiles. They are now 11 3/4 “x11 3/4”.
Considering the remaining 1/4″ gaps, you should make the best of 24″ wide, enough for two slate tiles. When framing the doors and openings, don’t forget to make the openings 1/2″ larger than necessary, allowing for the cardboard’s depth, glue and slate overlay. Also, don’t forget to tilt the area back slightly so that rainwater drains into the lawn. Then you can run the wiring for the outlets, lights and water pipes through the extension and then install 1/2″ Beckerboards. Do not use Wonderboards, as they are meant for soils and are not as hard as Hardibecker. You will need a specially marked blade to cut through the Hardiplank siding.
Install Stone Slabs and Extra Additions
The next thing you should do is to install natural stone slabs. These are 90 cents each with a coupon. I chose a nice color that can withstand the elements. I also bought a simple 12″ circular saw on eBay to reduce the tiles. Use a mixture of plastic grout, and Keracolor S Sanded to fill in the excess spaces. After washing off the excess grout and clearing the stone tiles, I applied Impregnator 511 sealer to all slate surfaces. Since the Vermont grill was a freestanding version and didn’t have a heat-resistant backplate, I put a galvanized steel plate to support the grill before rolling it into place. In anticipation of this summer weather. The job’s total cost was about $1200, which includes the price of this grill, the cooler, and the fabrics.…
The Best Fire Pit Types for Your Backyard
There are many distinct approaches to make a fire pit in your backyard. Irrespective of the particular things you use to build your fire pit, you will want to follow a few basic principles. Nothing beats the furnace from a fire pit on a cold winter night. Set the fire pit in a place in your yard where it will not be a danger. Build a fire pit roughly 3 feet across about 1 foot above the surface. Both bricks and figurines will suffice when making a fire pit, and they can be found in an assortment of color choices. The decision is left up to your tastes and what will work nicely with your house and outdoor area.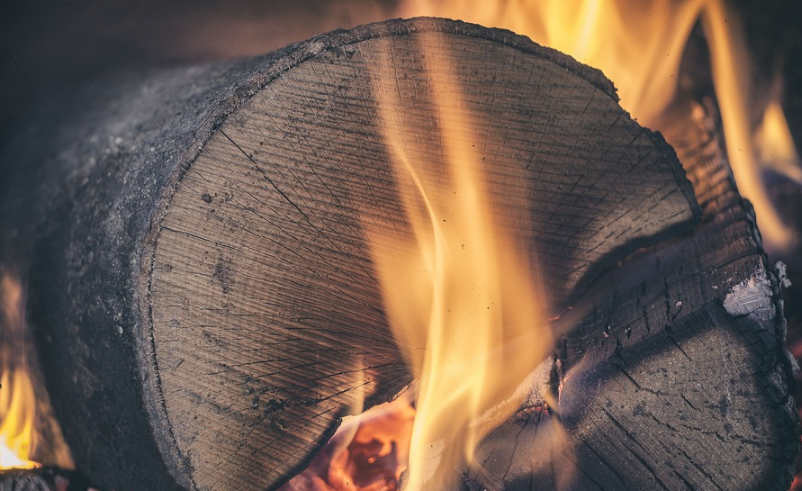
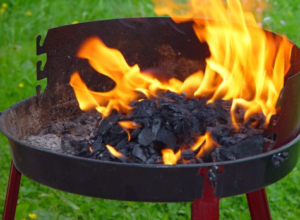
Portable Fire Pits
The portable choice is possibly the most popular and also the kind you might have experienced in most people’s backyards. The mobile fire pit is the most economical way to install your fire in your garden. The portable fire pits from home improvement shops may vary between $50.00 to $1000’s dollars. Portable fire pits can be moved in your backyard living area as required. This is a superb feature as your requirements can change with the seasons. While on the topic, it might be a fantastic idea to know about the regional town ordinance about fire pits before buying one.
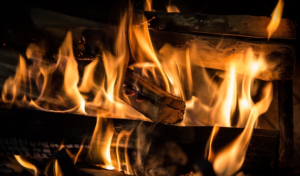
In-Ground Fire Pits
 With this kind of fire pit, the round hole is dug from the ground, and it may be lined with rocks, or you can use a flame bowl. After that’s completed, you can put stones or stones of your choice around the flame pit for security and making it aesthetically pleasing. With this system, you’re just limited by your imagination about how elaborate you want the surround that circles the flame pit. You may use cheap pavers or some quite exotic ornamental stones.
The flame bowl won’t be expensive yet. Based on what stones you use, it will wind up costing a little more than a portable fire pit such as those mentioned previously. The kind you go with can be decided by how your outdoor living area is laid out; you should guarantee that the flames aren’t likely to be too near to some constructions that may catch fire.…