
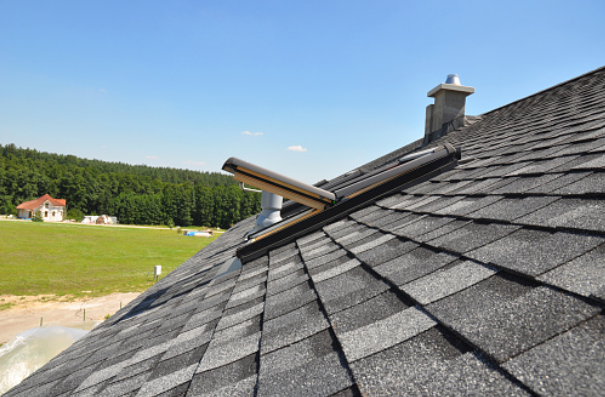
Many possible issues could happen to your home. It could affect the accessibility of the house. For instance, the home roofs are broken because of heavy rain or storm. After that, you find some damaged holes in the roof. It could be worse if you didn’t do anything immediately. However, not all homeowners understand the home improvements, such as fixing the roof. They actually can find some DIY tutorials on the Internet. Replacing your roof shingles, repairing a little wind damage or tree trunk damage isn’t a big deal and can be well within your DIY skills. All you need is a couple of tools, which can be found in almost any home improvement program kit, and also a little time. These are the DIY tips to fix broken shingles;
Prepare the Tools
Don’t put off this small job too long; missing or damaged shingles could turn a perfectly good roof into a major repair for a leaky roof, like fixing damaged floors or ceilings underneath. It includes a razor knife and a flat pry bar. A reasonably wide, flat bar will most likely be useful. Besides, you might need a hammer to insert the new claws along with two or three nails. These are not normal nails but have a protruding head. However, depending on the weather, some types of heating may also be helpful. The actual shingles should bend in their way, and fresh shingles can and may crack under stress. Therefore, you might need other tools regarding your roofing issues.
Remove the Damages
 When shingles are damaged or ignored, usually only the bottom half of the shingle is damaged. What you see on a roof is half of each shingle; the other half is wrapped up and under another tall shingle. The small crowbar was useful for removing staples. Be a little careful because it is pretty easy to break the shingle even if it’s in good condition, which means it needs to be replaced as well. Then, work under the broken shingle with the pry bar and pry until there are no more nails or staples.
Again, be careful not to damage the fantastic shingles during the process. After that, you should push out anything that is inside the destroyed shingle. These claws or foundations can be removed rather than forcing them out horizontally. Some of these shingles that were replaced on this particular job turned out to be under the ridge cap and hard to reach with a hammer and were removed.
Replace With the One
With the place prepared, slide the brand-new shingle into place. You might realize that the shingle needs to lift a bit to slide over nails, staples, or some other obstacle; slide a hand underneath and gently lift it a bit. You need to be more careful when rolling the padding over the replacement before the slope line is well exposed because this is where you need to push the claws in. Then, let the best thing that is wrapped roll back in with a little hand motion.